ReMapper DevLog
September 21, 2025
There are a few upgrades to discuss in this devlog. Here’s a TL;DR, I’ll discuss in more detail below:
- Decided to remove the website/webserver flow
- Added an MSC storage device flow (similar to RP2040 flashing)
- Added a screen (since now we don't have a website)
- Finished V3 of schematics and PCB, sent them out to fab
MSC Storage and Removal of Webserver
During my debugging and testing, I got annoyed at constantly disconnecting from Wi-Fi networks to connect to the device. The flow was especially bad on Android phones, which would indicate “no internet” and try to reconnect to a good network. I realized that, as a user, I hated the experience, so I scrapped it.
In contrast, I do enjoy how the RP2040 shows up as an MSC device you can load programs on, and I had already baked in a QSPI flash chip on the PCB connected to the ESP (thinking I might want to store website assets on it). So I decided to implement a method to load configs and programs via the device acting as a USB storage device.
This was tricky to implement. I didn't want to make a composite USB device; rather, I wanted either MSC or HID, not both. TinyUSB uses a lot of callbacks and global symbols, so it took a bit to figure out. The ESP-IDF toolchain linker was optimizing many of my callbacks out, so it wasn’t until I started scattering volatile all over that things started working. It also took a bit to set up the file system and wear-leveling, but ESP examples helped a ton there.
I soldered on a switch, and voila, when the switch is on and the device is plugged in, it shows up as a 17 MB MSC device.
Added a Screen
Now that I had no webserver and no way to indicate state/selections to the user, I needed to add a display. I went with the SSD1306, kinda blindly. I had a few lying around, they seemed small enough, and a quick search showed a cost of around $1–$3 per display, which was fine. I didn’t need the screen to do much.
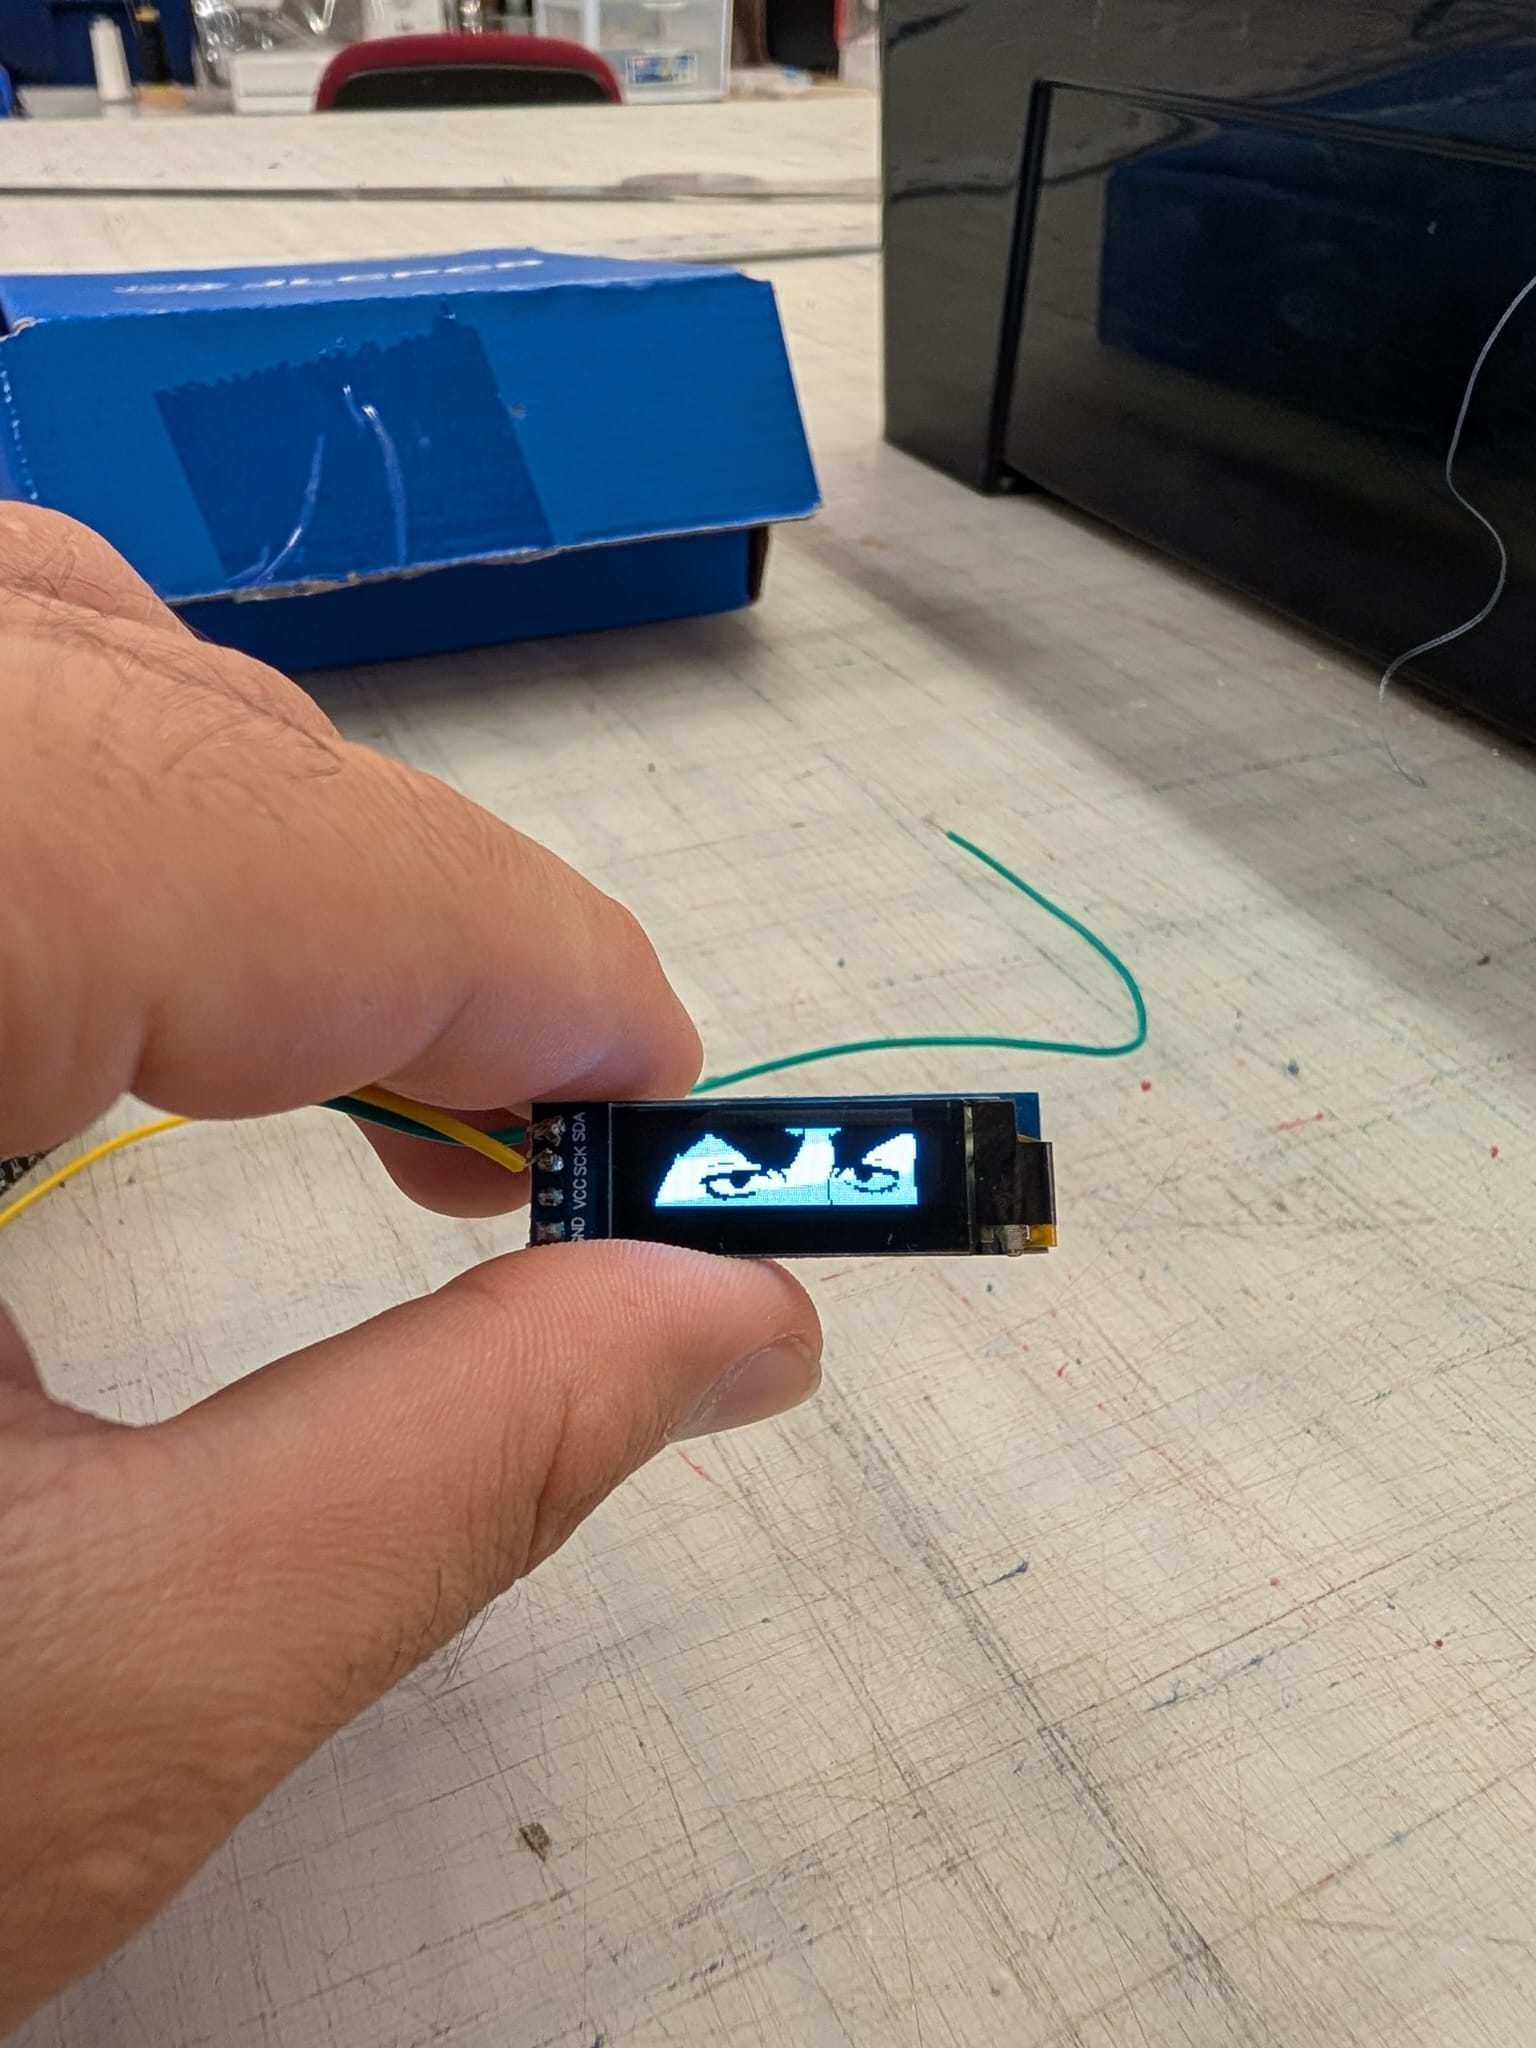
The first thing I struggled with was finding drivers. I found a datasheet (which I found hard to read) and a bunch of Arduino libraries, but I wanted something native to the ESP32 and ESP-IDF. I ended up pretty much copying over the Adafruit SSD1306 drivers and then linking the pixel buffers to LVGL.
The sample source code can be found here: https://github.com/cedarhacks/SSD1306_esp32_driver
I will try to make it a goal to clean up the drivers so that they can be useful to others before the next update. For now, here's a short video of the screen with LVGL. I never wired this to the V2 PCB since I didn’t want to solder onto the ESP directly, so I just did it on an ESP32 dev board. The new schematic will have a breakout for the screen I²C lines.
In the appendix you can find a few clips/images of the drivers in action.
Finished V3 Schematics
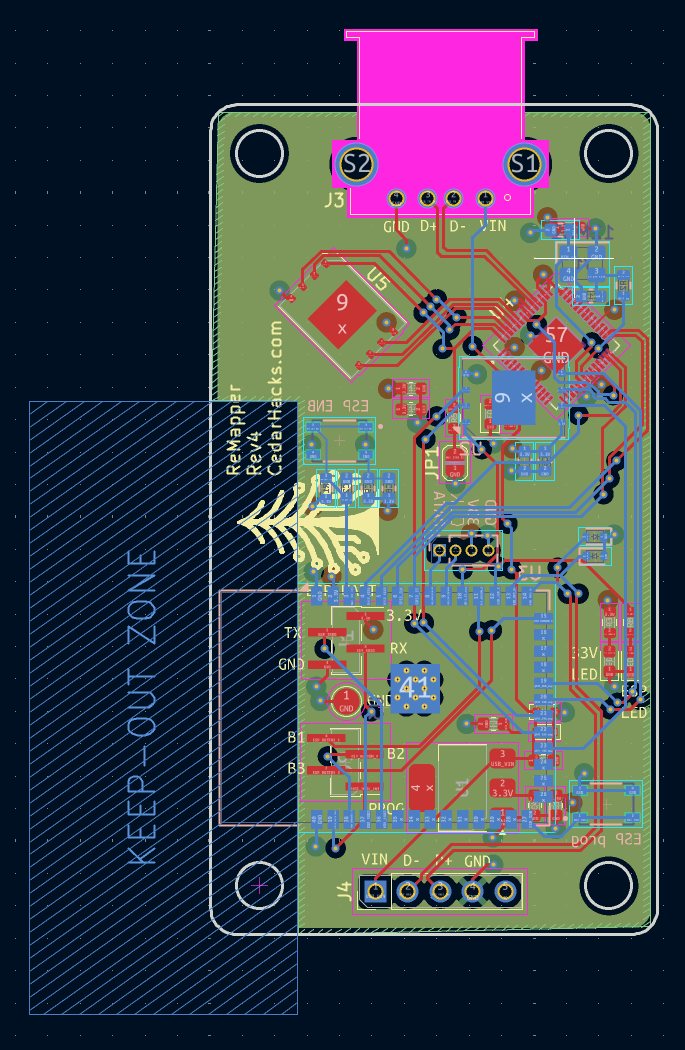
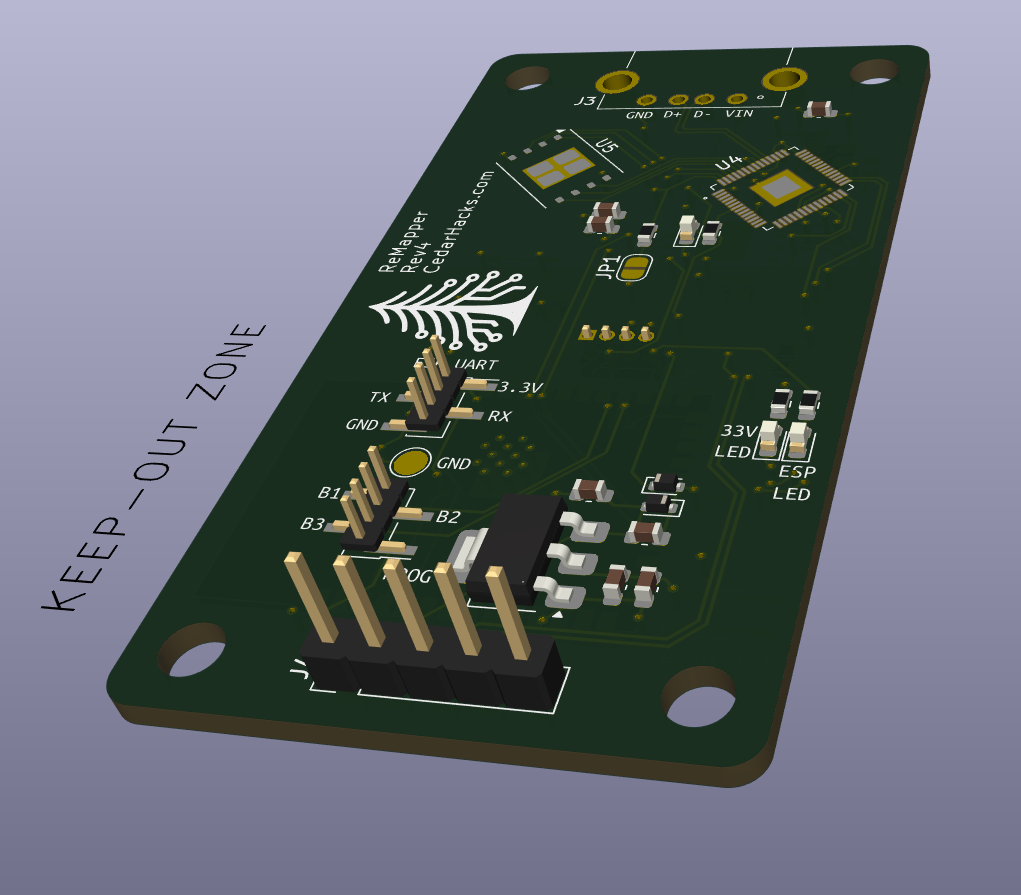
With all the above, it was time to churn another version of the PCB. This time smaller, more 3 buttons, 1 switch, 1 I2C display and more sensible mounting. I have some hope that maybe this itteration will be the last, but there's also a good chance I get it and it doesn't turn on.
It was a real challenge getting everything to fit in a smaller PCB, my initial goal was 32x55mm, but I failed at that, the end PCB ended up being 35x65mm.
Layout and routing took a few attempts, images of the final PCB are shown in the appendix as well.
Links and Next Steps
My vision is to have a section on this site dedicated to ReMapper programming. I envision a drag-and-drop programming interface, similar to Scratch or Unreal Blueprints, where you could create simple programs such as:
- “Get HID input → if w, convert to joystick up → produce HID output.”
- Connect to network → “Get HID input → if "s" → transmit next char on UDP port → mirror HID output as input.”
- Get HID Input → Log Key to file → mirror input to output
Hopefully the idea makes sense. In theory, you would be able to design a program, hit “Download,” and then load the file into your ReMapper via the USB storage method. That’s the idea at the moment — it might still change.
That being said, the next step becomes very software-heavy. I have to make the tooling support, and then I have to actually code out the parsing and execution of the files. Hopefully I’ll have some updates on this in the next devlog.
The git link + hash for this log is:
- Repo: https://github.com/cedarhacks/ReMapper @ 8935eee
Appendix


